
Most people book a window tint and then wonder what they’ve actually signed up for. If you’ve never had it done before — or never had it done at your place — the process can feel like a bit of a mystery. Understanding how mobile car window tinting actually works from start to finish helps you prepare properly and know what’s normal when the installer arrives.
How the Installer Sets Up at Your Location
The first thing a mobile tinter does when they arrive isn’t touch your car — it’s assess the environment. They’ll look at where the vehicle is positioned, where the light is coming from, and whether there’s any wind, dust or debris in the immediate area. All of these factors affect how cleanly the film applies and how well it adheres during installation.
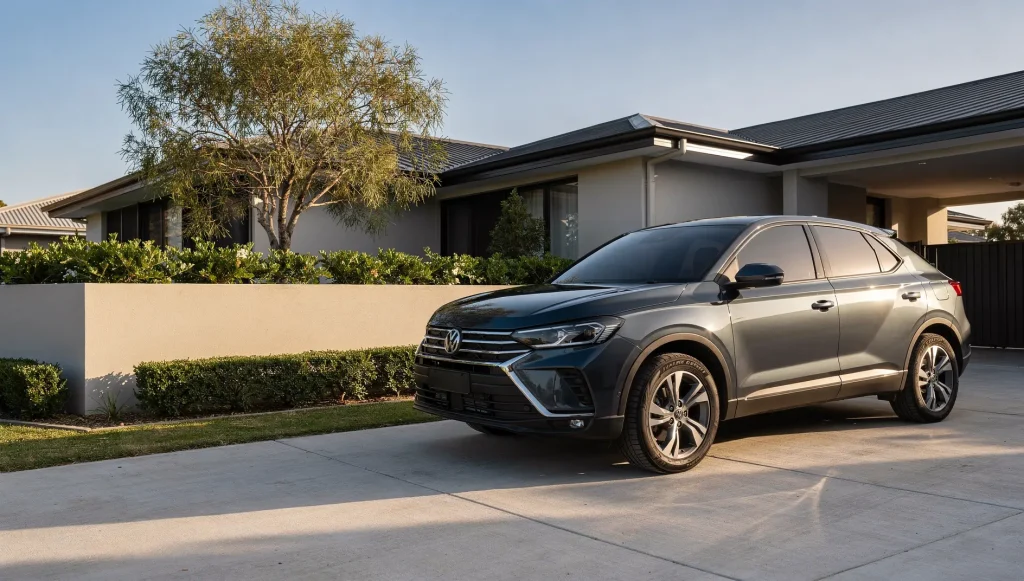
Most installers carry their own setup: a portable workstation, squeegees, cutting tools, spray bottles, lint-free cloths and the film itself, which is usually stored in a protective tube or roll. You don’t need to provide anything. What you do need to provide is a suitable space — ideally a carport, garage or shaded driveway. An open driveway exposed to full afternoon sun or a steady easterly breeze makes the job significantly harder and increases the chance of debris getting trapped under the film.
Once the installer is satisfied with the environment, they’ll position your vehicle and begin the process. In Perth’s climate — where summer temperatures can push well past 35°C and dusty easterlies are common — a good installer will be upfront if conditions aren’t ideal and may suggest adjusting where the car is parked before they start.
Cleaning the Glass: Why It Takes Longer Than You’d Expect
Before any film goes near your windows, the glass has to be thoroughly cleaned. This isn’t a quick wipe-down — it’s a methodical process using a combination of cleaning solution, scrapers and lint-free cloths to remove every trace of dirt, grease, adhesive residue and contaminants from the surface.
This step is where a lot of the time goes, and it’s also where the quality of the finished job is largely determined. Any particle left on the glass — even something you can barely see — will show up as a small bubble or bump under the film once it’s applied. Experienced installers take their time here and often repeat the cleaning process more than once before they’re satisfied.
On older vehicles, this stage can take longer. Years of road grime, previous tint adhesive, stickers or silicone sealant around window edges all add to the cleaning workload. Don’t be surprised if the installer spends 20 to 30 minutes just on prep before the film even comes out.
Cutting and Shaping the Film
Once the glass is clean, the installer measures and cuts the window film to size. Some installers do this by hand using templates and a cutting knife, while others use pre-cut kits specific to your vehicle’s make and model. Both approaches are common and each has its advantages depending on the installer’s training and the complexity of the windows.
For curved rear windows in particular, the film often needs to be shrunk to conform to the shape of the glass. This is done using a heat gun — the installer carefully applies heat to the film while it’s still on the outside of the glass, gently stretching and shaping it so it will lie flat once applied to the inside. It’s a skilled process and one of the clearest signs of an experienced installer versus someone who’s rushed through their training.
Applying the Film to the Inside of the Glass
Window film is applied to the interior surface of the glass, not the outside. The installer wets the glass with a slip solution, peels the liner from the film, and carefully lays it into position. The slip solution allows them to reposition the film slightly before it locks down.
Once the film is in position, they use a squeegee to work out the solution from underneath, pushing it toward the edges. This is where air bubbles and moisture are removed. Some small bubbles or haze are completely normal at this stage — they’re water trapped under the film, not air, and they will dry out over the coming days as the film cures.
The edges are then trimmed to fit precisely, leaving a small gap around the window seal. This gap is intentional — it prevents the film from lifting at the edges over time and allows for the slight movement of glass in door frames.
The Curing Period: What Happens After the Installer Leaves
When the job is done, the windows won’t look perfect immediately. You’ll likely see some haziness, small water pockets or a slight cloudy appearance. This is the curing process at work — the water trapped under the film is slowly evaporating through the film itself, and it can take anywhere from a few days to a few weeks depending on the ambient temperature and humidity.
In Perth, warm and dry conditions actually help the curing process move along faster than in cooler or more humid climates. A job done in summer may look clear within three to five days. A winter install in a shaded garage might take two to three weeks to fully settle.
During the cure period, you should avoid winding your windows down, washing the interior glass surface or touching the film. Rolling down the windows before the film has adhered properly around the edges can cause peeling at the seals — one of the most common causes of early tint failure that has nothing to do with the quality of the install itself.
Making Sense of What to Expect on the Day
A professional mobile window tinting job takes time — typically between one and three hours for a standard passenger vehicle, depending on the number of windows and the condition of the glass. The bulk of that time is cleaning, fitting and finishing, not just slapping film onto glass. If an installer is in and out in 30 minutes, that’s worth questioning.
Knowing what’s happening at each stage means you won’t be caught off guard when the installer spends half an hour on prep, or when your windows look a little cloudy for a week after the job. Both are normal parts of the process. The best thing you can do is communicate clearly with your installer beforehand about the space you have available and any quirks about your vehicle’s glass.
We’ll be covering how to get your driveway or carport properly set up for a mobile appointment — including what surface conditions, space requirements and shade considerations make a difference — in an upcoming guide on preparing your driveway or carport for a mobile window tinting appointment in Perth.