
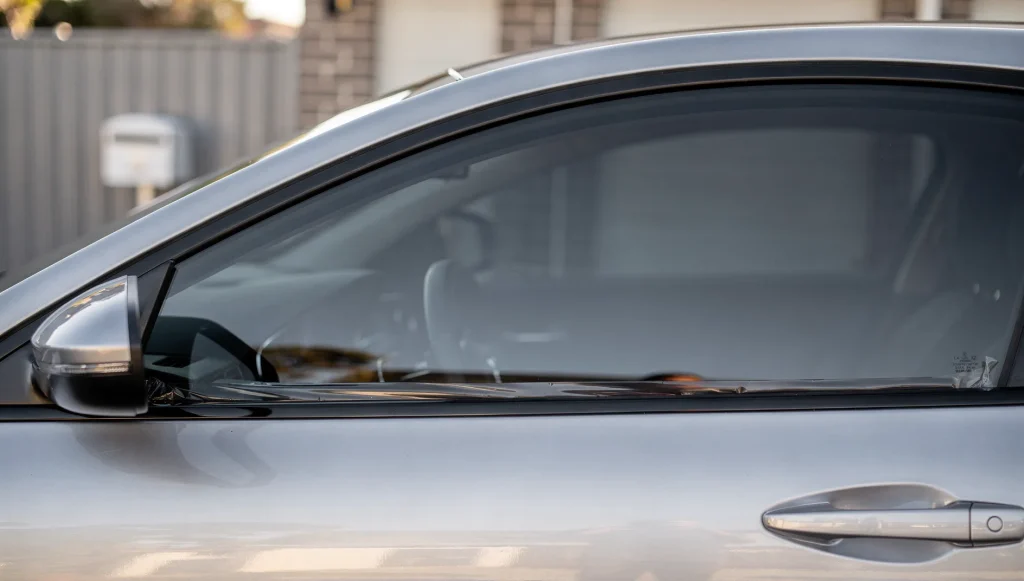
Here is the frustrating part of tinting: you usually find out whether the job was done well only after the installer has left. By then, the tools are gone and the work is on your windows. Knowing the signs of quality window tint installation helps you spot problems early, while there is still time to raise them. A reliable mobile window tinting service should produce consistent, clean results you can verify yourself with nothing more than good light and a careful eye. This article walks through exactly what to look for.
The Clear-Glass Test for Bubbles and Haze
Once the film has settled, your first check is simple: look straight through the glass. A well-installed film should look almost like clean, clear glass with an even tint applied across it. Hold the panel up to natural daylight and scan for haze, cloudiness or a milky appearance that does not shift as you move your head.
Some light haze and tiny water pockets are completely normal in the first days after installation. This happens because moisture is still trapped between the film and the glass and needs time to evaporate. What you do not want to see is widespread fogginess that persists, or large bubbles that remain fixed in one spot. Pinpoint bubbles that stay put long after curing can point to trapped debris or an adhesion fault rather than ordinary settling.
Edges, Seams and Trimming
The edges tell you a great deal about the installer’s care. Tidy work shows a clean, consistent border that follows the glass line neatly, sitting just short of the frame or rubber seal with a small, even gap. This slight margin is intentional and helps the film sit securely without catching on the seal.
Watch for these edge problems instead:
- Film that overlaps onto rubber seals or frames rather than ending cleanly on the glass
- Jagged, wavy or uneven cut lines that wander along the border
- Visible gaps that are inconsistent from one edge to the next
- Film creeping up and lifting away near corners or the top edge
Corners are where rushed trimming shows first, so give them extra attention.
Peeling, Lifting and Adhesion Clues
Peeling or lifting film is one of the clearest signs that surface preparation was hurried. Before film goes on, the glass must be cleaned thoroughly so that no dust, grease or residue sits between the surface and the adhesive. When that step is skipped, the film cannot bond properly and begins to pull away.
Run your eye along every edge and corner. Film that curls, lifts or feels loose to a gentle touch has not bonded as it should. On a quality job the film lies flat and uniform across the whole panel, with no raised sections and no areas that look like they are separating from the glass.
Surface Condition Under and Around the Film
Trapped contamination is another tell-tale marker. Look closely for specks of dust, hairs or small pieces of debris sitting beneath the film. A few microscopic particles can occur even in careful work, but noticeable dust scattered across the panel suggests the glass was not cleaned well or the working area was not controlled.
Also inspect for scratches on the film surface and on the glass itself. Fine scratch lines, scuff marks or scraped patches point to careless handling during fitting. The film should present a smooth, unblemished surface when you view it at an angle under strong light.
Colour Consistency Across Panels
Step back and compare all your windows together. A quality installation delivers an even tone from one panel to the next, so the whole set looks uniform from inside and out. Patchy areas, blotches or a tone that shifts noticeably between panels can indicate inconsistent application.
Keep an eye out, too, for early signs of discolouration such as a purple or bronze cast developing. While the film type influences how colour holds up over time, uneven tone appearing soon after installation is worth noting rather than ignoring.
If you want to understand how different film constructions behave as they age, our overview of how dyed, metallised, carbon and ceramic films differ explains why some products resist colour change better than others.
Why Preparation Underpins Long-Term Performance
Nearly every fault on this list traces back to surface preparation and technique. Clean glass, a controlled working space and patient trimming are what allow film to bond fully and stay flat for years. That same careful groundwork is what lets the film do its real job in Perth conditions: reducing heat, cutting glare and filtering UV rays so your interior stays more comfortable and better protected.
When the fundamentals are done properly, the film performs consistently and the visual signs stay clean well beyond the first week. When they are rushed, the shortcuts surface as bubbles, lifting edges and haze that never quite clears.
Even a flawless installation still needs the right handling in the days immediately afterwards. The film is curing and the adhesive is still setting, so some minor haze or trapped moisture is expected and will clear on its own. Knowing how to look after newly tinted windows during that critical first week makes all the difference between settling that resolves cleanly and problems that take hold.